Photographing the aurora borealis — those dancing green, pink, and purple ribbons of light that paint the night sky — is a dream for many photographers. But anyone who’s tried knows how challenging it can be. Between low light, long exposures, high ISO noise, and soft details, even the most breathtaking aurora shot can lose clarity and realism.
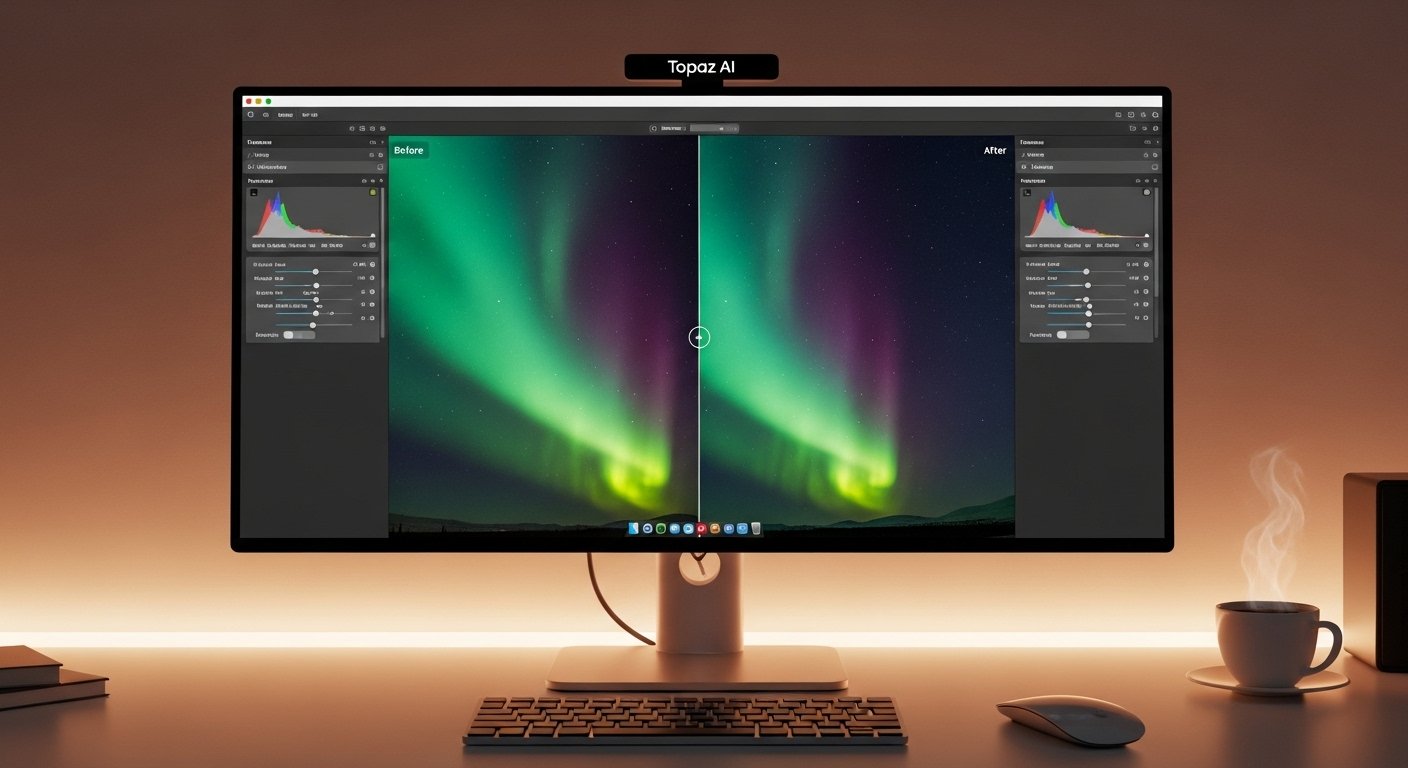
That’s where Topaz AI comes in. This powerful suite of AI-driven photo tools helps photographers clean up noise, enhance sharpness, and bring out subtle details without sacrificing the natural beauty of the night sky. In this guide, you’ll learn how to use Topaz AI for aurora night sky photos like a pro — even if you’re just getting started.
What Is Topaz AI and Why It’s Perfect for Aurora Photography
Topaz AI (by Topaz Labs) is a collection of advanced photo enhancement tools that use machine learning to analyze and intelligently process images. It includes:
-
Topaz Photo AI – All-in-one tool for noise reduction, sharpening, and upscaling.
-
Topaz DeNoise AI – Removes digital noise while preserving fine details.
-
Topaz Sharpen AI – Corrects motion blur, focus errors, and enhances crispness.
-
Topaz Gigapixel AI – Upscales images for large prints without losing quality.
For night sky and aurora photography, the Topaz DeNoise AI and Topaz Photo AI modules are absolute game-changers. Aurora images are usually shot at high ISO values (3200–12800), and that naturally introduces grain. These AI tools help you recover smooth, clean, and natural-looking skies without making them look fake or overprocessed.
Why Aurora Photos Need AI Enhancement
Capturing auroras isn’t just about pointing your camera north and clicking the shutter. There are a few technical challenges that Topaz AI can solve beautifully:
-
High ISO noise – Common in dark scenes. AI models can separate noise from actual detail.
-
Soft details from long exposure – AI sharpening can restore fine structures without halos.
-
Color banding – AI-based denoising preserves subtle gradient transitions in the aurora.
-
Foreground blur – Sharpen AI can target foreground subjects like mountains or cabins.
-
Faint stars – AI processing maintains star sharpness and prevents smearing.
How to Use Topaz AI for Aurora Night Sky Photos: Step-by-Step
Let’s dive into a full workflow that uses Topaz Photo AI or its components to process your aurora images like a professional astrophotographer.
Step 1: Start with the RAW File
Always work with RAW files instead of JPEGs. RAW retains maximum sensor data — color depth, shadows, highlights — giving AI models more to work with.
Tip:
If your image is too dark, don’t brighten it before AI processing. Let Topaz handle the noise first. Brightening a noisy image amplifies grain and makes cleanup harder.
Step 2: Import into Topaz Photo AI or DeNoise AI
You can open your photo in:
-
Topaz Photo AI (recommended) for a one-stop workflow.
-
DeNoise AI if you only want to reduce noise and preserve texture.
When you load your photo, the software automatically analyzes it and suggests the best AI model (e.g., RAW, Low Light, Severe Noise).
Pro Tip:
If you’re using Topaz Photo AI, disable “Auto everything” and use manual control for astrophotography. The auto mode might oversmooth stars or subtle aurora waves.
Step 3: Apply AI Noise Reduction
Noise reduction is where the magic happens.
-
Choose RAW model if you’re processing a RAW file.
-
Choose Low Light for high ISO JPEGs or TIFFs.
-
Adjust Strength and Detail Recovery sliders:
-
Start with Strength: 25–40
-
Set Recover Details: 50–60
-
Keep Enhance Sharpness low (under 10) to avoid crunchy stars.
-
Preview areas of sky, aurora, and foreground to ensure a balanced look.
Example:
A Nikon D850 shot at ISO 6400 for 15 seconds — using the “RAW – Moderate” model — cleans up 95% of luminance noise while preserving fine detail in the aurora curtains.
Step 4: Use Sharpen AI (Optional but Powerful)
If your stars look slightly soft due to lens aberration or wind, try Topaz Sharpen AI.
Select from these modes:
-
Motion Blur – for tripod shake or wind movement.
-
Out of Focus – if focus wasn’t perfect.
-
Soft Image – for general detail enhancement.
Use the masking brush to limit sharpening to specific areas (like foreground objects) and leave the sky untouched. Over-sharpened stars can look unnatural.
Step 5: Return to Lightroom or Photoshop for Final Adjustments
Once you’re happy with denoising and sharpening, export the image (preferably as a 16-bit TIFF) back to your editor for the finishing touches:
-
Adjust exposure and contrast to make the aurora pop.
-
Fine-tune white balance to enhance natural colors.
-
Use the clarity or dehaze sliders gently — aurora photos need subtle contrast, not overediting.
Step 6: Upscale for Prints or Large Displays
If you plan to print your aurora photo or share it in high resolution, use Topaz Gigapixel AI to upscale it up to 6x without losing quality. It intelligently reconstructs missing pixels using AI learning, not simple interpolation.
For example, a 24MP aurora photo from a Sony A7 III can be upscaled to 96MP and printed in stunning large format.
Expert Tips for Getting the Best Results
1. Don’t Overdo It
Topaz AI is powerful, but too much AI enhancement can make your photo look artificial. Always compare before and after — your aurora should look natural, with smooth gradients and visible stars.
2. Use Masks Wisely
In Topaz Photo AI, apply effects selectively:
-
Denoise the sky.
-
Sharpen only the landscape.
-
Leave stars alone.
3. Batch Process for Efficiency
If you’ve shot hundreds of aurora frames, use batch processing to apply the same settings to multiple files. Perfect for time-lapse or panorama sequences.
4. Keep Your Software Updated
Topaz frequently updates its AI models. The newer versions are significantly better at handling low-light astrophotography noise.
5. Use AI Before Color Grading
Always apply AI enhancements before you edit color, exposure, or add contrast. Doing it after can create uneven tones or reintroduce noise.
Real-World Example: Bringing an Aurora Shot to Life
Imagine this scenario:
You’ve photographed the northern lights in Tromsø, Norway, on a freezing February night. Your best frame is ISO 8000, f/2.8, 10 seconds — it’s beautiful, but noisy.
Here’s the workflow:
-
Open RAW in Topaz Photo AI.
-
Apply RAW Low Light model, Strength 35, Detail Recovery 60.
-
Add mild Sharpening (Soft Image), 15%.
-
Export as 16-bit TIFF.
-
In Lightroom, adjust exposure +0.3, shadows +10, whites +8, clarity +5.
-
Finish with subtle color grading to emphasize greens and magentas.
Result: A crisp, vibrant, noise-free image with natural aurora flow and visible star points.
Common Mistakes to Avoid
-
Over-smoothing the sky: Avoid slider values above 50 for noise suppression.
-
Sharpening stars: This can create glowing artifacts or pixel halos.
-
Ignoring color banding: If visible, reduce contrast slightly before exporting.
-
Skipping RAW processing: JPEGs have already lost critical data.
Advanced Techniques for Professionals
Blend AI Versions for Best Results
Export two versions — one heavily denoised, one lightly processed — and blend them in Photoshop. This gives you total control over textures in different regions.
Use AI on Individual Channels
For severe color noise, convert your image to LAB mode and denoise only the L channel (lightness). This preserves color transitions beautifully.
AI + Stacking for Star Trails
If you shoot multiple exposures for star trails or panoramas, apply Topaz AI to each frame before stacking. This reduces accumulated noise dramatically.
How to Use Topaz AI for Aurora Night Sky Photos
Learning how to use Topaz AI for aurora night sky photos helps photographers elevate their astrophotography to professional levels. By combining smart noise reduction, precise sharpening, and AI-powered detail recovery, you can produce clear, clean, and visually striking images that truly capture the magic of the northern lights.
Whether you’re a beginner or an advanced photographer, these AI tools make it easier than ever to transform your noisy, dim aurora shots into gallery-worthy masterpieces.
Conclusion
The aurora borealis is one of nature’s most breathtaking displays — and with Topaz AI, you can do justice to that beauty. By using AI tools intelligently, photographers can reduce noise, enhance details, and bring out the true brilliance of the night sky.
In short, knowing how to use Topaz AI for aurora night sky photos lets you focus on creativity rather than technical flaws. The result? More natural, captivating, and shareable aurora images that inspire awe in everyone who sees them.
FAQs
Q1. Which Topaz AI product is best for night sky photos?
Topaz Photo AI is the best all-in-one solution, combining denoising, sharpening, and enhancement in one app.
Q2. Should I use Topaz AI before or after editing?
Always apply AI cleanup before color grading or exposure corrections.
Q3. Can Topaz AI remove star trails or aurora motion blur?
Yes, partially. Sharpen AI can fix mild blur but not extreme movement.
Q4. Is Topaz AI worth it for astrophotography?
Absolutely. It’s one of the most effective tools for balancing clarity and noise in high-ISO night sky photography.
Q5. What are the ideal Topaz settings for aurora photos?
Start with Strength 30–40, Detail Recovery 50–60, and keep Sharpen below 15%. Adjust based on the image.





Leave a Reply